


Support mural à ciseaux Strobepro
$169.95 CAD
061900
Gain de place
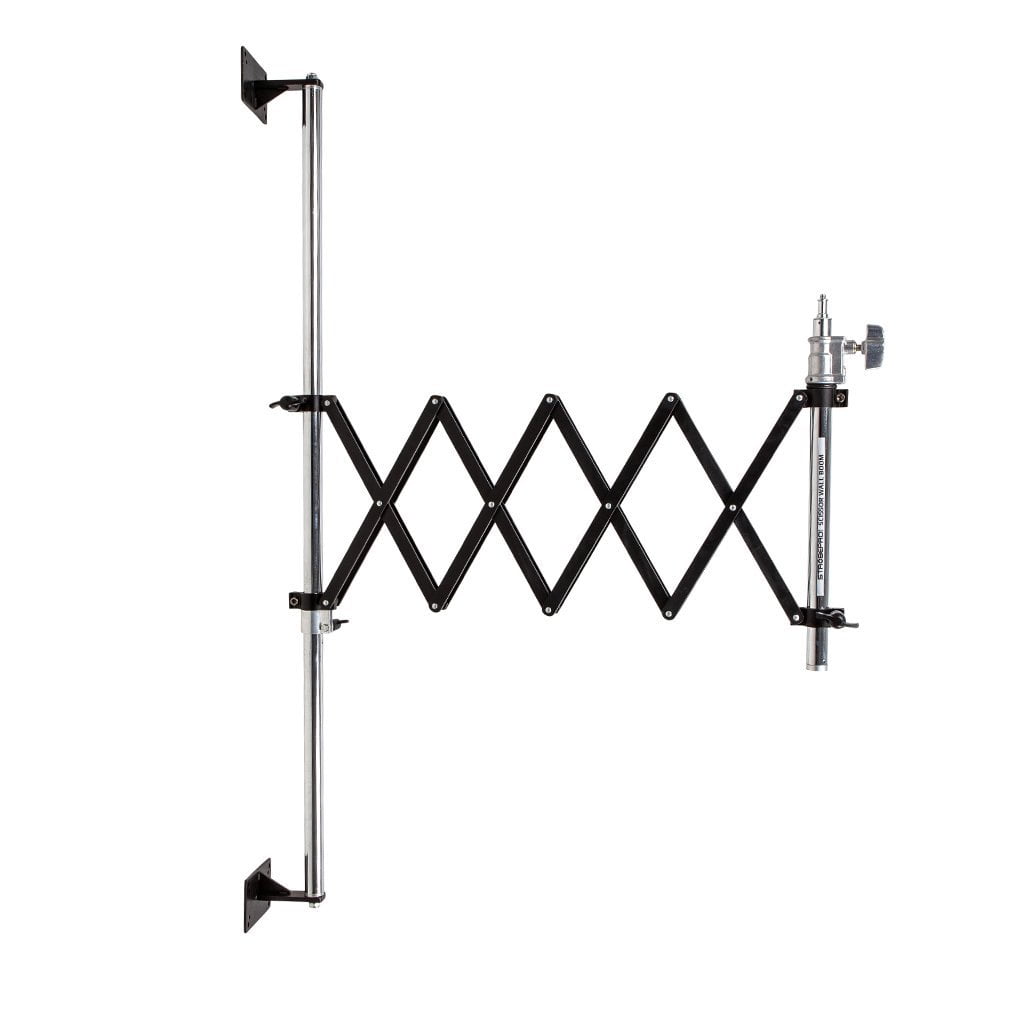
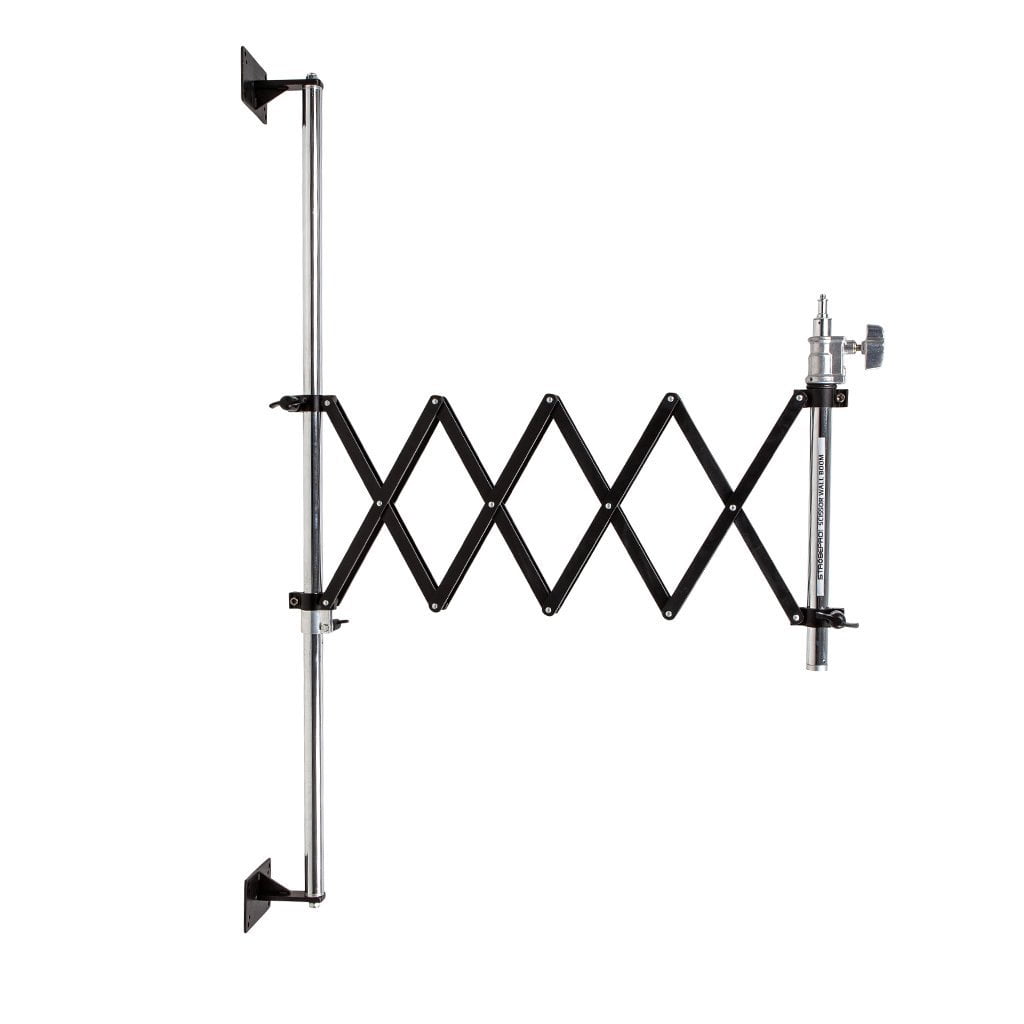
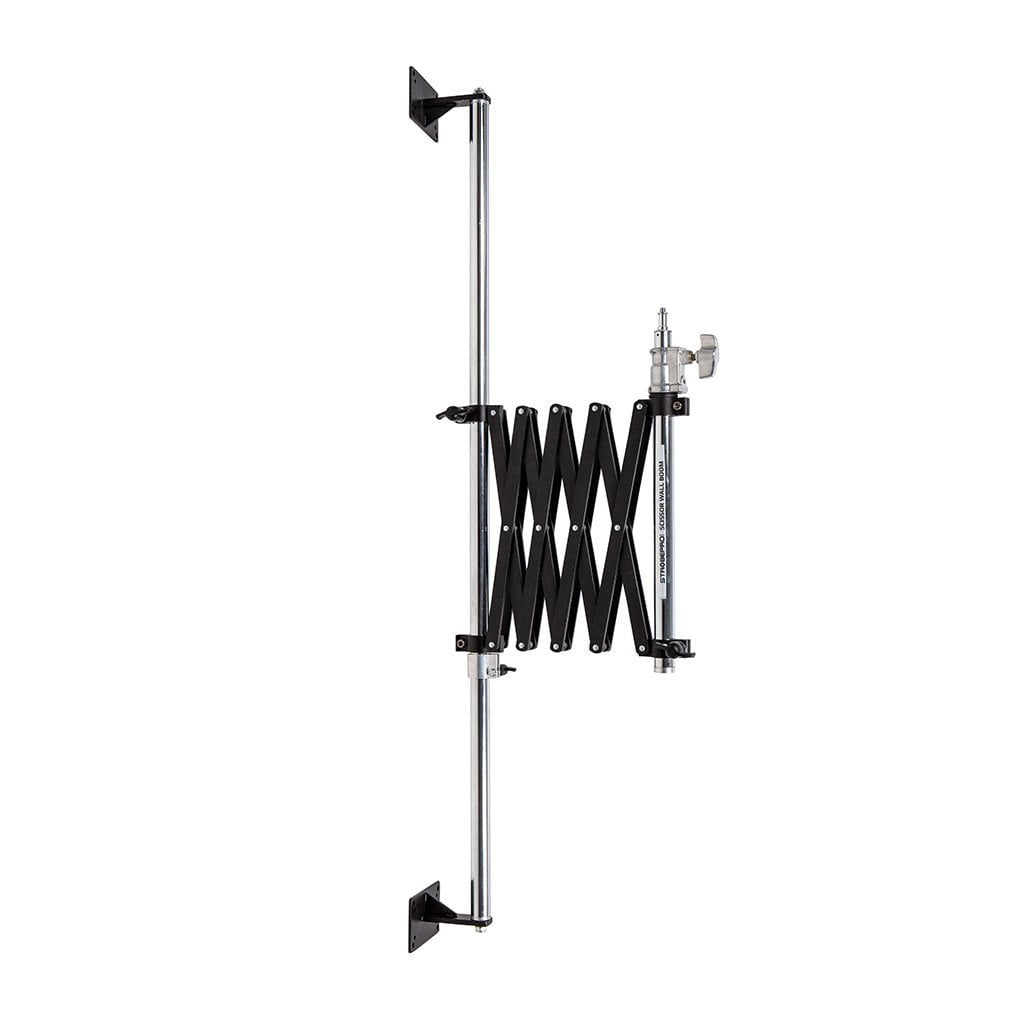
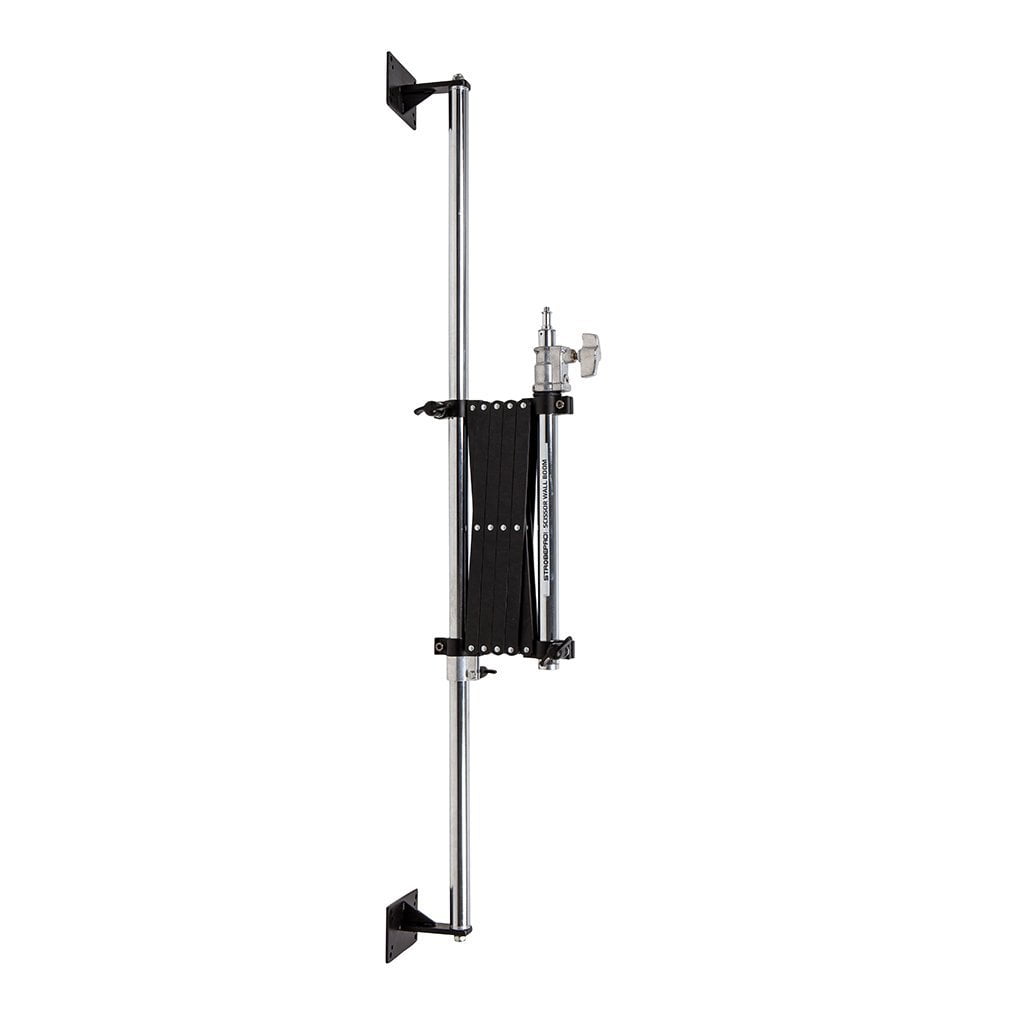
Le support mural Scissor est idéal pour un studio permanent avec un espace limité. Sans l'encombrement d'un pied d'éclairage, il se rapproche du mur lorsque nécessaire et se replie facilement lorsqu'il n'est pas utilisé.
EXPÉDITION
Veuillez noter que cet article est livré dans un carton surdimensionné, ce qui entraîne des frais de livraison supplémentaires. Il n'est pas inclus dans les promotions de livraison gratuite. Les frais de livraison supplémentaires seront calculés au moment du paiement. Rassurez-vous, les articles de votre panier bénéficiant de la livraison gratuite seront toujours livrés gratuitement. Les frais de livraison supplémentaires ne s'appliquent pas au retrait en magasin.
Solide comme le roc
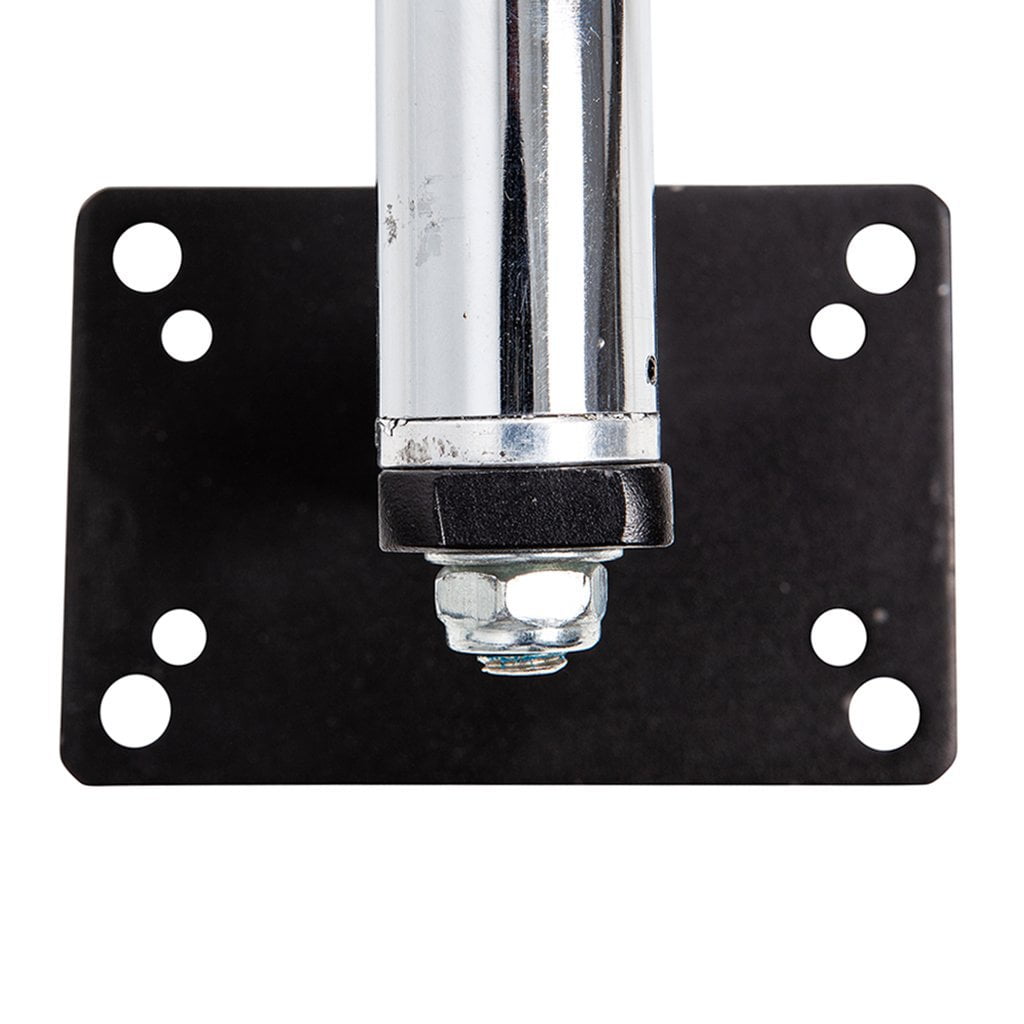
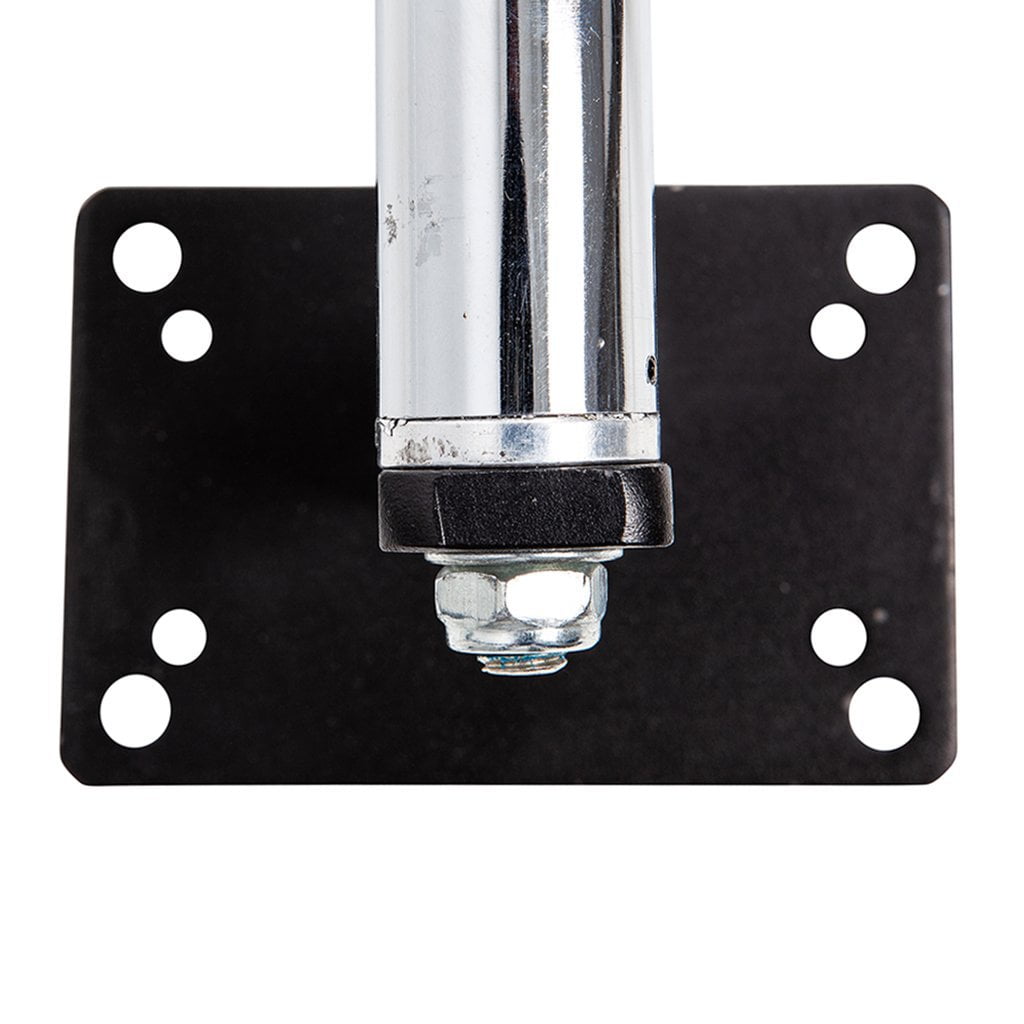
Une fois ancré dans un poteau ou du béton, vous pouvez le charger en toute confiance. Plus besoin de sacs de sable avec cette configuration. Sa construction est en acier massif. Ce support est une véritable bête.
Réglages à trois axes
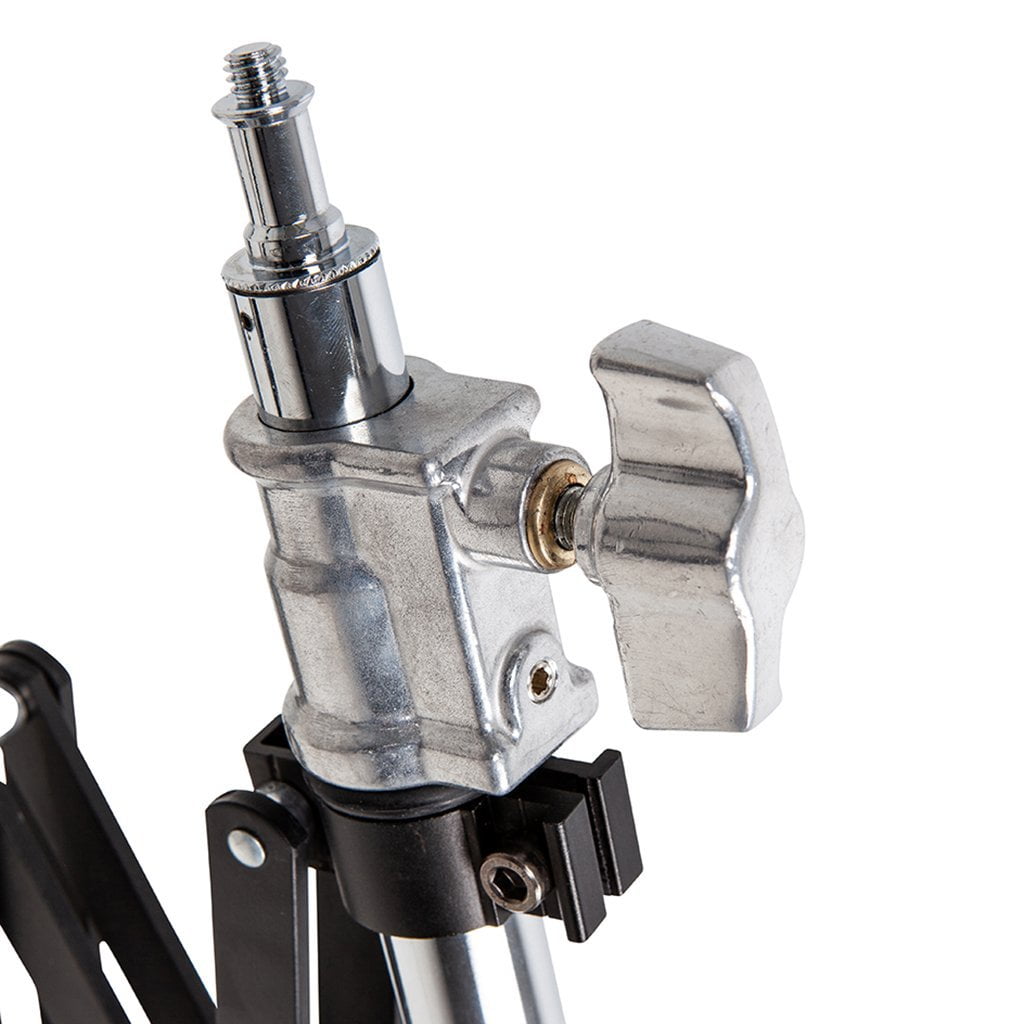
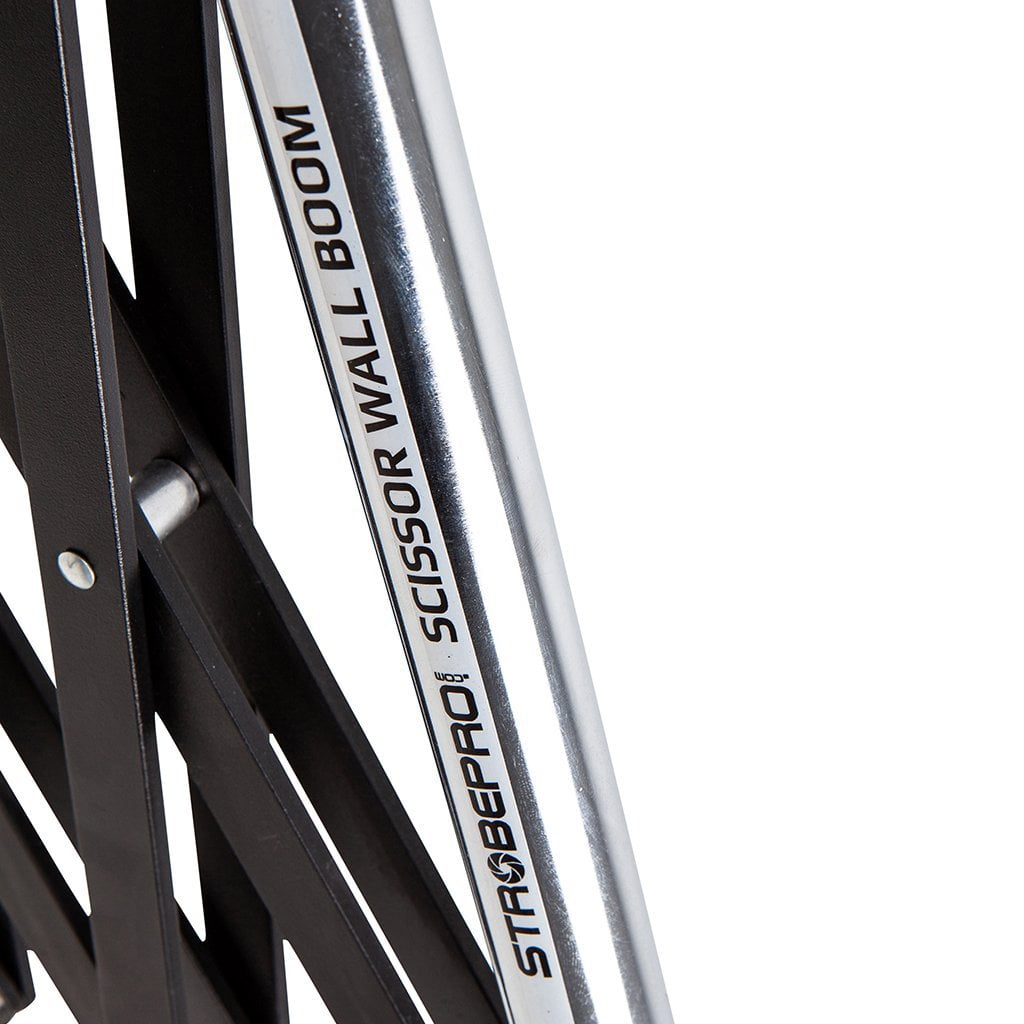
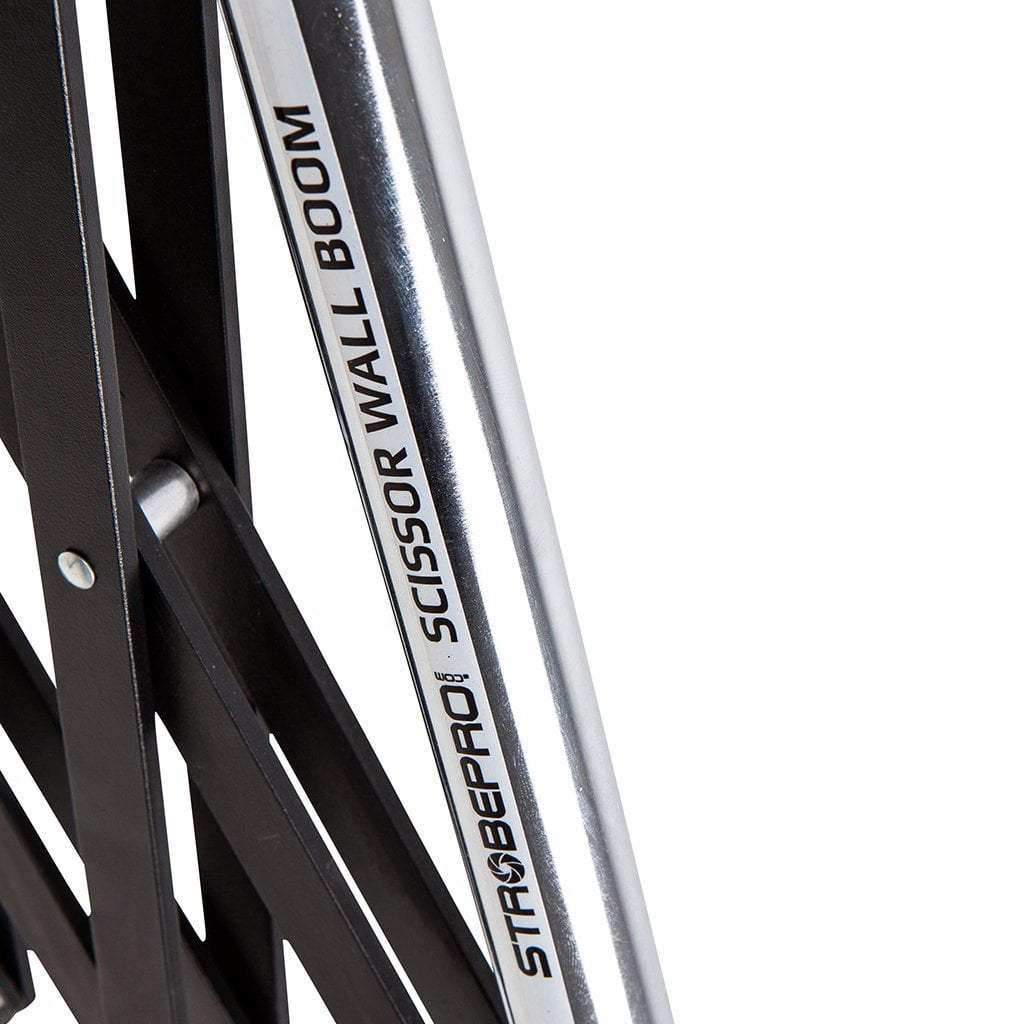
Vous pouvez déplacer le support mural en ciseaux de haut en bas, l'étendre d'avant en arrière et le faire pivoter autour de son point de pivot. Vous pouvez également régler la hauteur du pied d'éclairage.
Caractéristiques
| Poids | 18,5 lb (8,4 kg) |
| Matériel | Acier |
| Hauteur totale | 48" (121,92 cm) |
| Course de colonne haut/bas | 47,24" (120 cm) |
| Support de voyage pour pied d'éclairage | 19,69"-31,5" (50-80 cm) |
| Distance du mur stocké | 3,5" (8,89 cm) |
| Extension minimale des ciseaux à charge portante | 50 lb (22,68 kg) |
| Extension de ciseaux à charge maximale | 20 lb (9,07 kg) |
| Portée maximale des ciseaux | 60" (152,4 cm) |
| Support rotatif mural | 180 degrés |
Comprend
-1 x support mural à ciseaux
-8 x Ancrages à béton
Customers praised this wall-mounted stand as "well built" and "rock solid," ideal for small studio spaces. It saves floor space and prevents equipment from being knocked over. Shoppers noted installation requires proper anchoring to concrete or studs, not drywall. "Extremely useful," "versatile" for lighting setups including overhead positioning.
- Mounting two of these in my studio has been an absolute game changer.
- Rock solid wall stand. Quick and easy to install.
- Well built, can hold a Profoto B1 head and modifier with ease.
Strength (positive)Lighting (positive)Wall (positive)Space (positive)Versatility (positive)
V
I recommend
Nice product
Good services
Thanks
Im a pet groomer , Ive buying this for my 27 pounds dryer , and , after Ive tried one , I automatically order 2 more !!
Thanks !

V
I recommend
Nice product
Good services
Thanks
Im a pet groomer , Ive buying this for my dryer , and , after Ive tried it , I automatically order 2 more !!
Thanks !
P
Quick and easy to install. The versatility of the height and direction adjustments is quite useful. Quite easy to move lightboxes out of the way when not in use. Would definitely recommend.
A
Unit is well built, can hold a Profoto B1 head and modifier with ease.
A
good communication, timely delivery, solid product! (only wish I could have found one made in north america!)
E
We purchased this item a few weeks back and cannot be happier. It is really easy to install and we have found quit a few uses for it in our studio!
M
This is really well built, and heavy which is what makes the installation a bit challenging or a fun project depending on the mood. You will most likely have to take it apart to install it. I had to install it on a concrete wall, don't try to set it on drywall, you will need at least anchor it on a 2x4.
00) equipment: a SDS Drill will make your life easier, regular ones might cause pain in the wrist, make sure to take lots of breaks. You will need a 15/32 drill bit. The hole has to be at least 1/4" longer than the anchor (this is a must, i made that mistake so you don't have too). I used a wrench with a 14mm cube to tight the nuts.
01) As my dad used to say, measure twice and then measure again before cutting (drilling in this case). I used on of the sides of the box where it came from to create a template of wall stand. I marked the plates and the holes. Cut the rectangle and then use a level to place it on the wall and make sure it's leveled (tape it to the wall once it levelled). I then used the drill to mark the holes. I removed the template, and placed the wall stant on the marked holes to make sure I did it right.
02) Hole Drilling. Here is where things will start go south as you will not be 100% perpendicular to the wall throughout the whole drilling process, but do your best. Then you MUST clean the hole (use a vacume or compressed air). Drill one hole at the time and test that each anchor goes in in a closed position. remove the anchor that you used to test the whole. I suggest drilling the top two holes first and then making your way down.
03) If you drilled the hole properly you will only need to tap it with the hammer, if you drilled the hole incorrectly you will be tempted to pound it with the hammer, don't do it, you will mess up the thread and then you messed up to the point of no return for that hole. do place the second anchor. and now test it wall stand, you should be able now to bolt it to the wall. Now repeat the process for all the other holes, starting with the top holes of the lower anchor plate.
04) Assemble the wall mount: at this point you can assemble back the wall mount in place securing the top nut that attaches to the top plate.
Good luck
R
I have a small space in which I photograph dogs and cats in. Light stands sitting on the ground get in the way and take up valuable floor space and have the potential to be knocked over by an exuberant dog. Mounting two of these in my studio has been an absolute game changer. They are so versatile for almost all of my lighting setups including overhead lighting. Everytime I set up my lighting I'm even more impressed with their versatility and strength. I'm already saving up for another pair. Awesome product!
T
These were just what I needed, Thanks!
J
This works great! I have a small space at my home I sometimes use as a studio and this wall mounted stand works wonderfully
C
Can this be mounted to the roof also or just a vertical wall? I see something that looks like this in the background stand video.
You could mount it to the roof but it is designed for wall. What you saw in the video was a roof mount truss system that is quite extensive for a home studio and requires at least 10 foot ceilings.<br/>Thanks
J
Can this be mounted on the ceiling?
No, as it would have no resistance to push the scissor back up.
P
What are the dimensions of the stand? How far does it reach on full scissor extension? Maximum safe weight?
All the specs are in the description now. Max reach is 5 feet. Load bearing is 50- 20 pounds.