
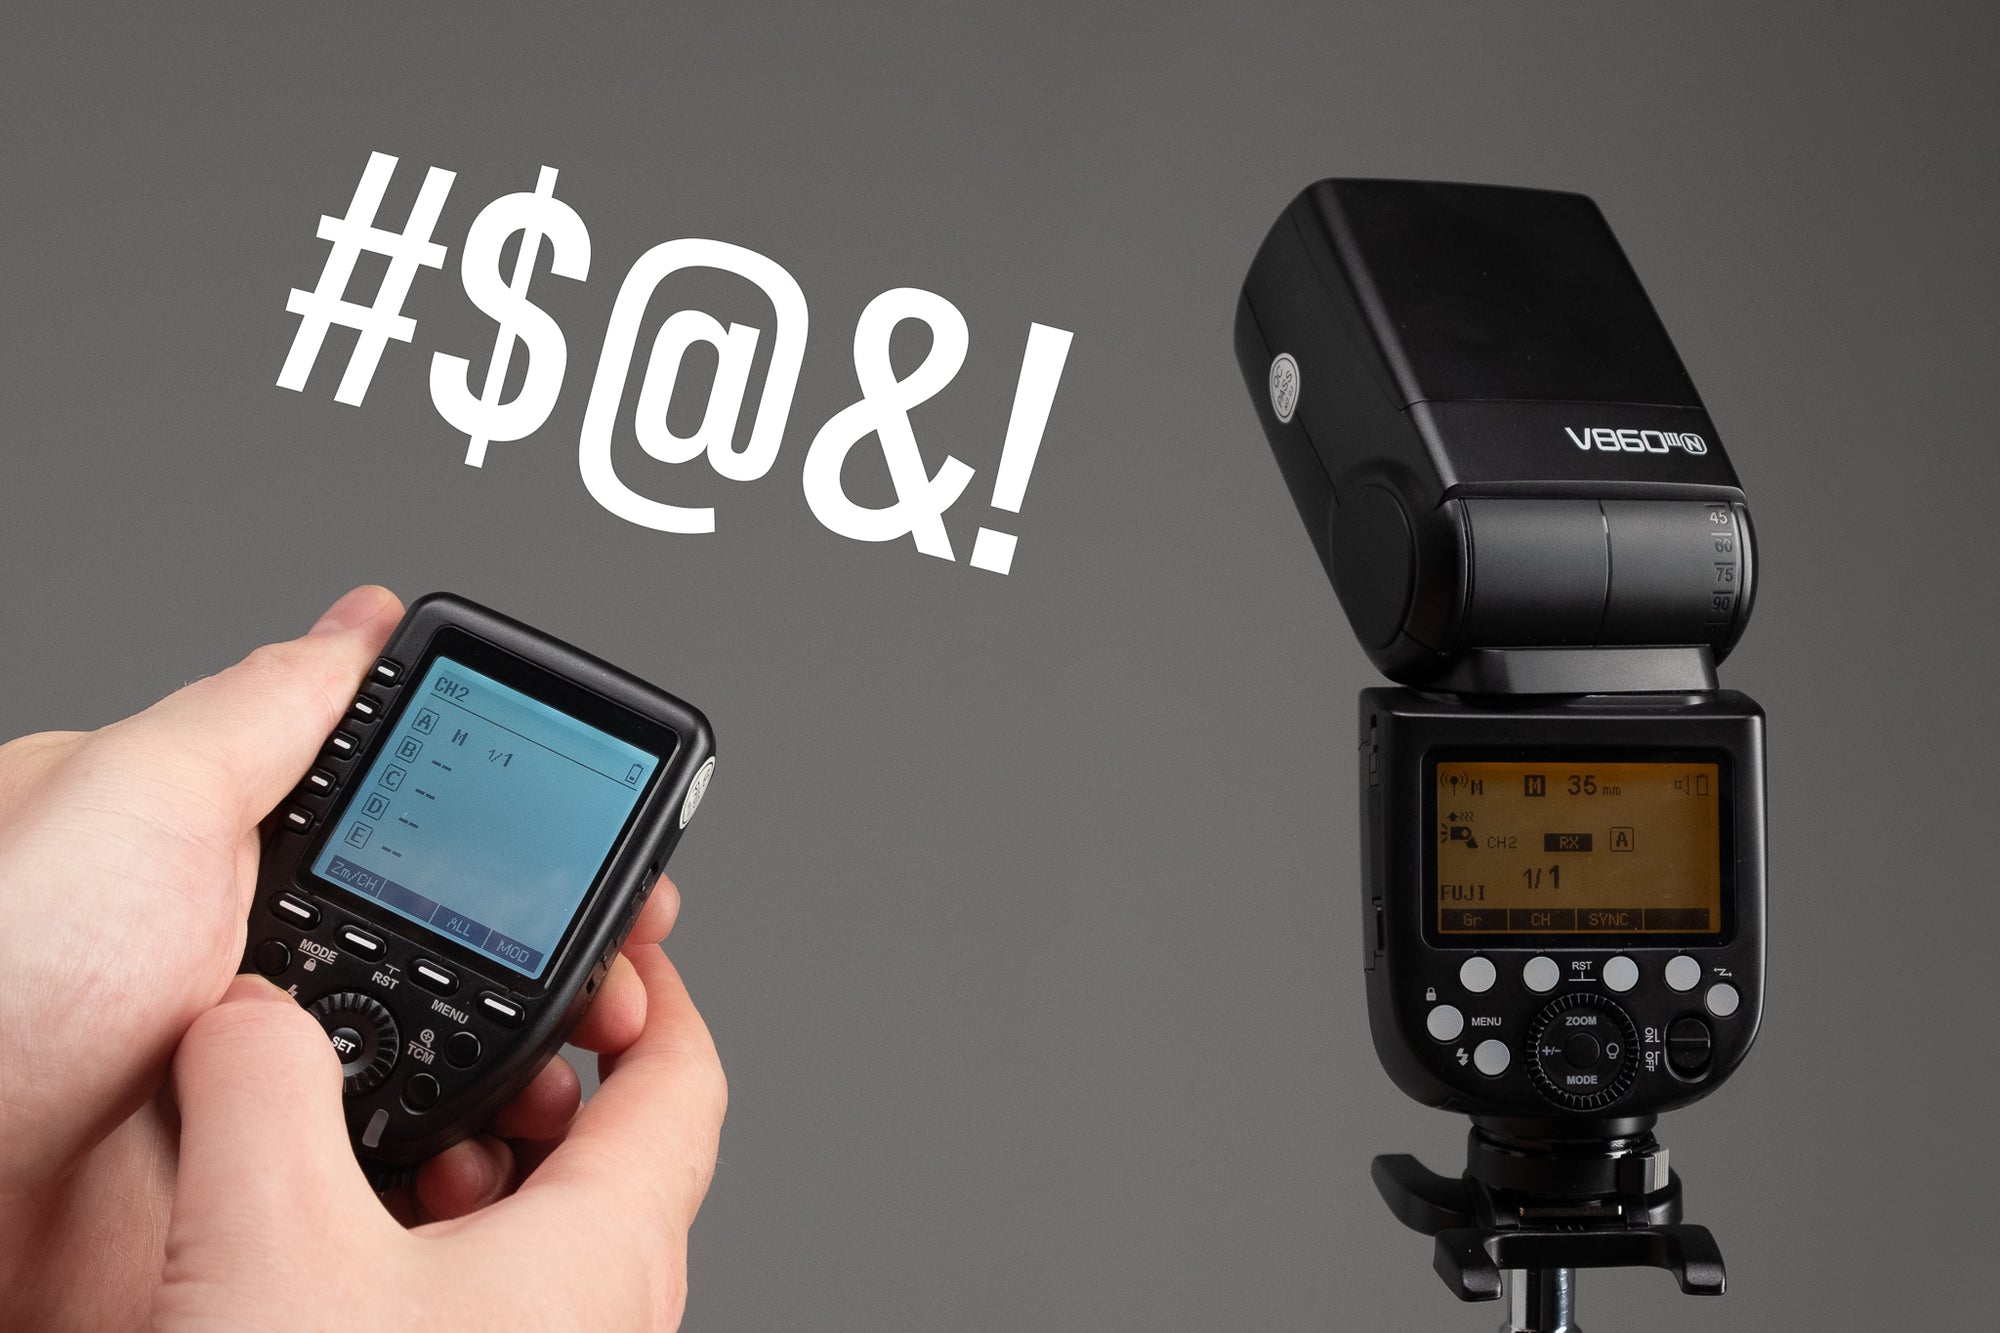
Godox Flash Tips: Managing Misfires
Why is my flash not firing?
Godox’s X-series radio system is widely praised for its reliability, but misfires are still an occasional fact of life with any radio controlled flash system. The good news is that there are a couple of things you can do to proactively prevent misfires. We also have some troubleshooting tips that you can use when misfires do occur.
What is a misfire?
For our intents and purposes, a misfire can be characterized as any failure in your flash system that prevents your flash from firing when you click your shutter. Whether your flash has not had adequate time to recycle, or your flash overheats and needs time to rest—or if radio interference prevents your flash from receiving the proper signal—we will consider all such events to be misfires. Please feel free to bicker over the semantics in the comments section.
Radio Interference
Radio interference is the most common cause of misfires. We live in a wireless world, and the myriad of signals bouncing around your room always have a small chance of interfering with your flash control system.
If you notice some triggering inconsistencies, you might first try bumping your channel up by 5 or 10 on all devices. That will often be enough to get you back on a clean band.
Godox’s X2T controller and a few of the newer speedlites (V860iii, TT685ii) have a channel scan feature that can be found in the menu. It takes a minute to run the scan, but you’ll be rewarded with a small list of clean channels for you to choose from. It’s never a bad idea to run a scan and pick a good channel for all of your devices, ideally before you send some of your lights out of reach.

List of channels recommended by our X2T controller after a quick scan.
Distance Mode
Godox’s radio controllers have two distance modes—found under the DIST menu setting. By default, your controller can trigger lights that are between 1 and 100 metres away. If you are using lights in close proximity, and your distance mode is set to 1-100m, you may experience some misfires.
Switching your distance mode to 0-30m will usually improve triggering reliability in tight studio spaces. We recommend switching back to the 1-100m setting for general use outdoors (or in any scenario where your flash happens to be more than 30m away, of course).

Distance modes on an XPro controller
Flash Recycling
This is the scenario that requires the most generosity to be called a misfire, but we’ll talk about it anyway. When your flash is fired, its capacitors need a period of time to recharge before it is ready to fire again. You’ll effectively have yourself a misfire if you take a shot before your flash fully recycles.
The interval becomes longer as you set your flash closer to its maximum power (1/1). If you are overshooting your flash and slowing down is not an option, you will need to select a lower flash power and compensate with your aperture or ISO.
Generally speaking, try to go with a flash power of 1/8 or lower when speed is a priority. For continuous bursts, you may need to set your flash even lower than that.
If you are using TTL and your flash is not keeping pace with you, bump your ISO or open up your aperture to take pressure off of your flash and allow it to recycle more quickly. Seriously, try it.
If you want to ensure that your flash is ready to fire before you press the shutter, your flashes can provide feedback in a few different ways:
The ready beep
With the beep turned on, you will receive an audible confirmation when your flash has recycled its power. The instructions for enabling your ready beep will vary by model, so be sure to check out our video guide for your particular flash or strobe. Some find the beep distracting or annoying. Thankfully, there are a couple of other indicators.
The indicator light
Every Godox flash has an indicator light that is on or near the test button. It illuminates when your flash is ready to fire. This is most useful for an on-camera flash.
The modelling light
The modelling lights on many Godox strobes will turn off during the recycling period by default (you can usually change this behaviour to your liking in the custom functions). When the modelling light turns back on, you know your strobe is ready to fire again.
Overheat Protection
The last common cause of misfires is overheating. Your flash releases energy as both light and heat, and repeated high power flashes cause thermal accumulation that would eventually harm your equipment. Godox flashes use heat sensors that prevent the flash from firing when temperatures approach dangerous levels. At first, you will notice longer recycle times. If you don’t allow your flash to cool down, it will eventually stop firing entirely. When your Godox light activates overheat protection, a symbol will be indicated on the display:

I wish I could say that I appreciated this awesome feature when production grinds to a halt so that my light can cool down (a minimum of 10 minutes is recommended). Luckily, there are a few things you can do to mitigate the chances of this happening to you.
Manage your flash power
Lower flash powers are your friend once again. Shooting at 800 ISO and 1/8 flash power instead of 200 ISO and 1/2 power could be the difference between having your flash ready for the cake-cutting or not. Obviously, your ISO is going to affect your overall image quality and your ambient exposure as well, so choose whatever is best for your scenario. But consider the following chart for a V860iii speedlite:

If you are a keen observer, you’ll have noticed that it only takes around 40 consecutive flashes at 1/1 to overheat this speedlite at its widest zoom setting. Great for sprints, but not so much for marathons! When using speedlites, I recommend that you consciously slow down your shooting when high powers are necessary.
What about TTL? How can we tell which flash power is being used? Well, quicker recycle times correspond to lower flash powers, so that’s the gauge you’ll want to use. Adjust your exposure settings until your flash consistently recycles in small fractions of a second. Do that, and overheating will no longer be a worry.
Use a more powerful light
If it’s an option, a more powerful light will achieve the same flash exposure at a smaller fraction of its maximum power. The more powerful light is generally designed to handle more flashes at that power level before overheating. Your options are limited for on-camera work, but going from a speedlite to something like an AD200 Pro for any off-camera stuff will already provide some noticeable thermal breathing room.
Avoid high speed sync (HSS) when possible
By all means, use HSS, but just adjust your expectations when doing so. HSS is a very useful feature for managing ambient exposures, but it changes the behaviour of your strobe and causes extra thermal accumulation. Your AD600 Pro might need a little break at some point during your noon-hour outdoor session.
The main piece of advice here is to avoid using HSS unnecessarily. Depending on your camera model, it’s possible to automatically bump your flash into HSS when you roll your shutter over your flash sync speed. You may not immediately notice the accidental bump from 1/250 to 1/320 of a second, but you may have just engaged HSS! Most cameras have a “lock” function of some kind, and I try to use mine whenever I work with flashes.
Though HSS is very convenient, you could consider grabbing some high quality neutral density filters to bring down ambient exposure while remaining within your sync speed. That said, ND filters aren’t a magic solution. Overheating can still be an issue at regular high powers, especially on a hot day.
Carry a spare
An expensive option, certainly, and not one that I’d recommend off the jump. But if you find that your particular type of work constantly overheats your key light, then you may just want to have an extra on hand. Swap in the new light while the hot one cools down and you can keep on shooting.
—
Now you know how to prevent and troubleshoot misfires so your flashes are always at the ready! If you’re noticing misfires that fall out of the scope of this advice, don’t hesitate to call Strobepro for support. We will do our best to provide further guidance, and we can service your devices when all else fails.